Lose cell phone reception, drive past the state line, turn at the abandoned brothel, reach the sign with no name, and there you’ll begin the journey to Boundary Peak – Nevada’s high point, sitting nonchalantly at 13,147 ft with a Sierra Nevada backdrop to its west.
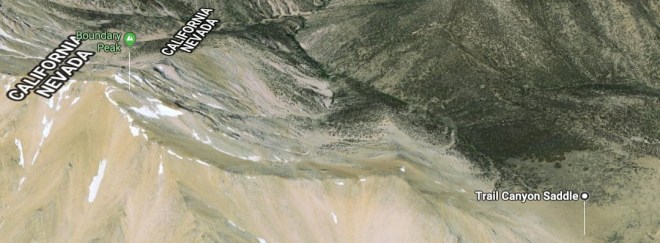
Boundary Peak is part of the White Mountains, an elevated block separated from the Sierra by Owens Valley, and within the borders of Inyo National Forest. This secluded location has only been Nevada’s high point since 1980, when territory disputes were finally laid to rest by court order. Prior to the court ruling, the California/Nevada border placed Boundary Peak within California’s jurisdiction where it was left to obscurity behind the other more impressive 14ers. Even with records official, however, the argument is not firmly settled among hikers.

I heard several grumblings of technicalities as to Boundary Peak’s legitimacy while visiting the White Mountain Ranger Station a few days before our planned climb. Some would argue that while Boundary Peak may be the highest natural “point” in Nevada, it is but a speed-bump along the way to Boundary Peak’s twin, the higher by 253 feet Montgomery Peak, located less than a mile from the Boundary Peak summit but securely behind the California line. Meanwhile, Nevada’s previous high point, and still frequently climbed, Wheeler Peak sits at 13,065 ft and can confidently boast its designation as an independent mountain.

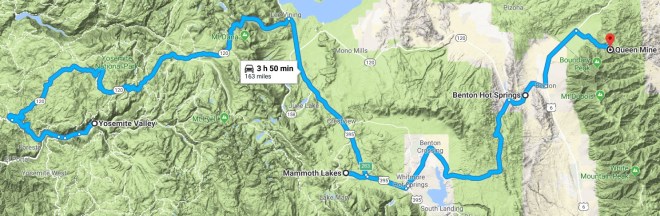
Boundary, it would seem, prefers her solitude. She is incredibly remote, the closest towns being Benton, California, which is equipped with a gas station but no cell service, and Dyer, Nevada. Bishop, California, about 40 minutes away, is a cozy town with lots of shops and restaurants. Benton Hot Springs Bed and Breakfast, where we stayed the night before, made for an easy commute in the early morning hours, and offered a relaxing outdoor hot springs experience the evening before.
For us low landers, whose Ohio roots typically don’t drag us above 1,000 feet in elevation, the most critical part of this climb is adjusting to the altitude beforehand. Altitude sickness is a real thing and I encountered hikers along the climb who had left behind friends complaining of dizziness and headaches. Unfortunately, due to its placement behind Owens Valley, Boundary doesn’t offer many nearby high altitude sleeping options. Bishop’s altitude is only around 4,150 ft and Benton around 5,000. We opted to stay several days in Mammoth Lakes, California, where we could sleep around 8,000 ft and venture to the ski resort area of Mammoth Mountain for day hikes and even higher altitude excursions. Mammoth Lakes was a great town, secluded but inclusive in its offerings with a full grocery store, lots of lodging and restaurants, and even an airport. I’d recommend the hike to Rainbow Falls and the Devil’s Postpile, which besides cool geology also takes you through a section of forest recovering from fire damage and crosses a section of the Pacific Crest Trail. Mammoth Lakes is also relatively close to Yosemite National Park, and we day tripped there prior to the Boundary climb.
There are two main routes to Boundary Peak, the Queen Mine route and the Trail Canyon route. We settled on the Queen Mine route after doing research and reading other summit posts. I couldn’t advise on one over the other, but the majority of hikers we met during our climb came via Queen Mine. Ultimately, the trails join and continue together for the final ascent to the summit.


You reach the Queen Mine road from Benton by driving northeast on Highway 6 approximately 10 miles. Notable landmarks are the Nevada border and a white water tank marked 6.1. Turn right upon sight of an abandoned ranch on your left with a water tank painted with the welcome sign “Janie’s closed – Beat It.” The Queen Mine road is not a comfortable ride, and despite online posts claiming passenger cars made the journey without issue, I was grateful for my Jeep Wrangler rental. The road consists of gravel, ruts, washouts, uneven terrain, and is flanked on either side in many places by menacing brush and outstretched tree limbs. Most other online reviews also recommend a high clearance vehicle for the trip.


After traveling 6.1 miles on the dirt road you will come to the Queen Mine site where many hikers set up camp the night before. When we arrived at 5 am the morning of our hike, there were multiple tents set up in this area.

At this point, the elevation is an approximate 9,200 ft. The road continues on and those comfortable and willing can drive their vehicle up another 0.7 miles and 700 ft to the area known as Kennedy Saddle. There were also two campsites set up here when we started our hike that morning.
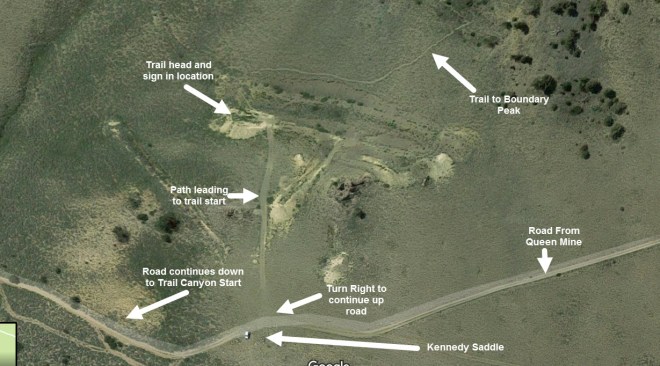

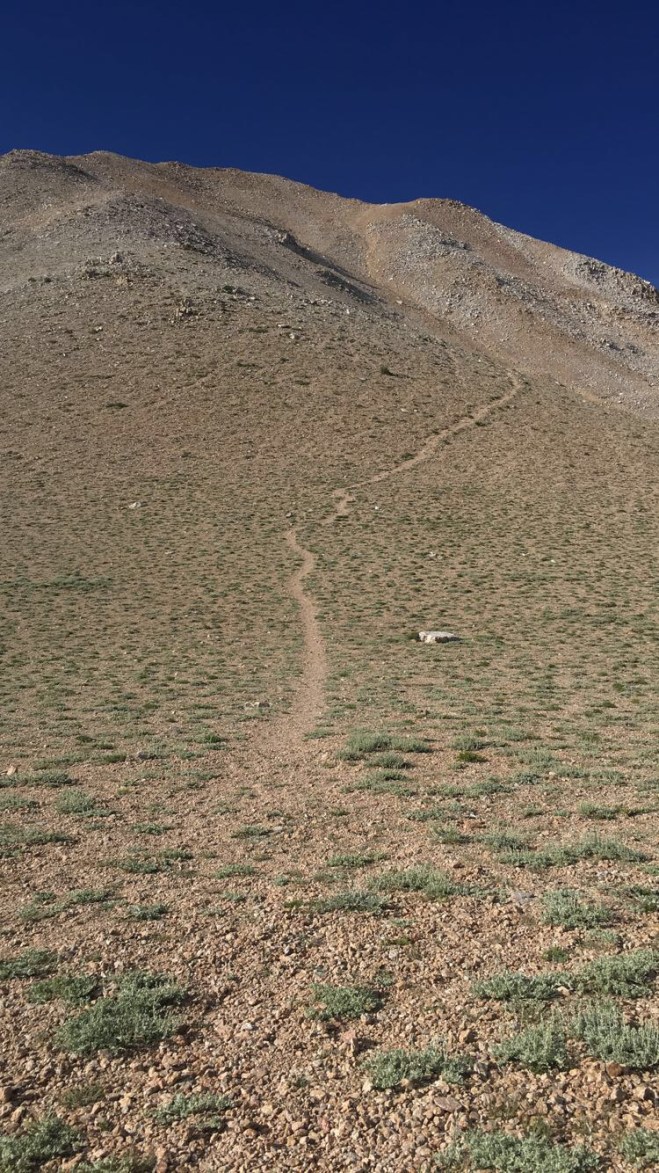
At Kennedy Saddle, the road forks, and you will need to continue right up the hill; the road continuing straight goes down the other side of the mountain and eventually will lead to the Trail Canyon route starting point. The path leading up the hill will fork again and you will want to take the left path which leads up. You will reach an old brown post with a wooden frame affixed atop which serves as the trail marker. The post bears no words, but does house a small notebook where hikers can sign-in and out.

Follow the well-worn gravel/sand path up and begin your climb which will eventually take you past a grove of Bristlecone Pine. 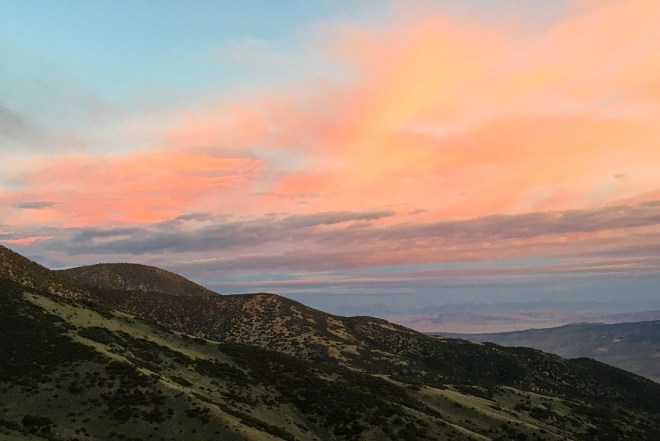 The sun was coming up as we climbed this section of trail and created a surreal and spectacular candid portrait of the environment’s morning ritual. After that initial climb, you will reach a ridge which brought me the best moments of the trip. The going is flat for quite a bit and as the day broke, a band of wild horses appeared silhouetted on the hillside.
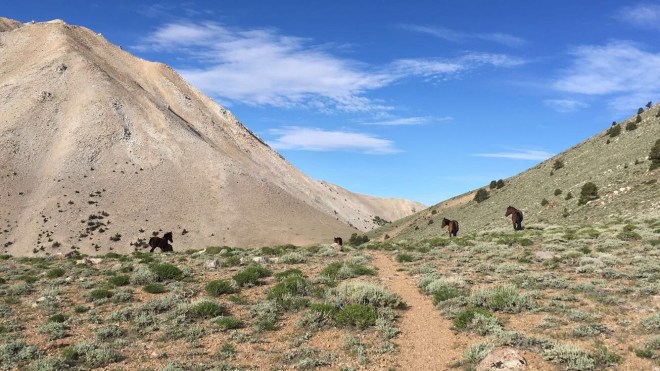

They stared and grazed while we hiked on past, two small foals trotting with excitement around their mothers in the early morning air. The casual passage continues on a mile and a half or so until you reach Trail Canyon Saddle. You will see a pile of wood and rocks providing a nice place to rest and take in the task at hand as the base of Boundary looms up ahead.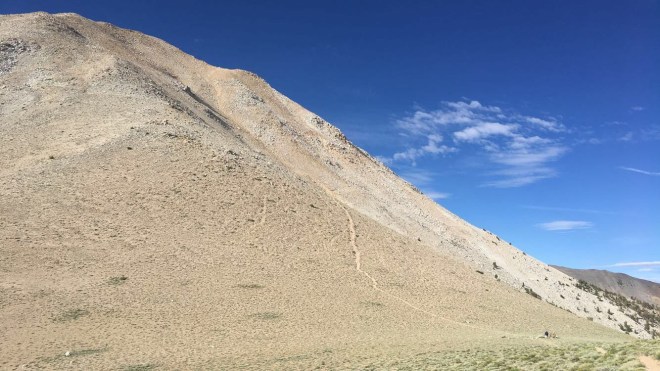
After departing Trail Canyon Saddle, the tedious and hard climbing begins. The path here is not too difficult to follow, but the footing is a relatively miserable sand/gravel/scree mix and your pace may slow as you struggle up the slope. Trail Canyon Saddle sits at about 10,800 ft, and it was after that when I began noticing the altitude wearing on me.
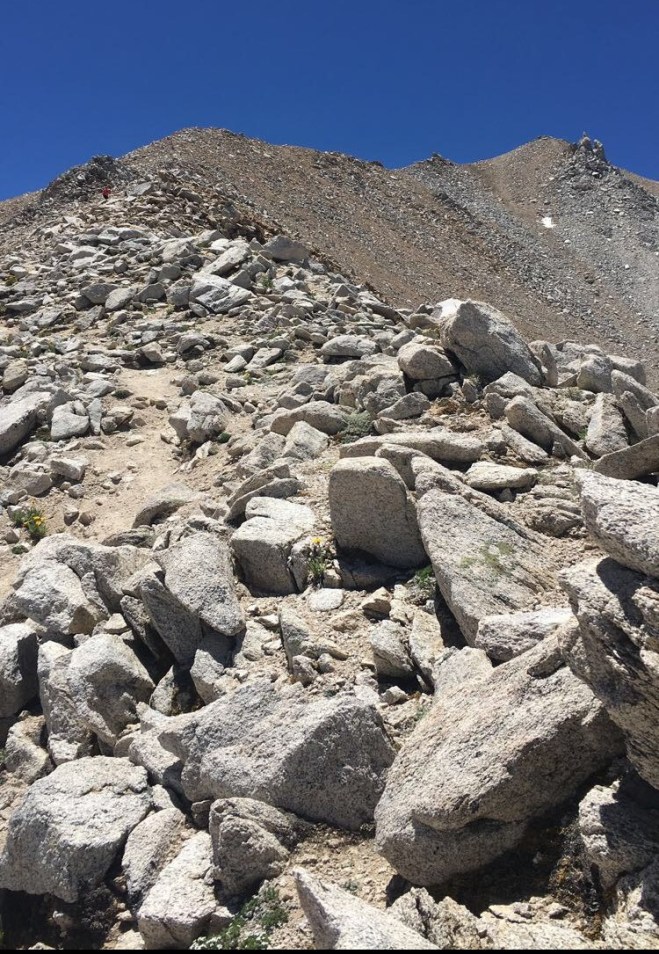
A word of advice, don’t linger in the sand/scree/pebble mess any longer than you have to – get to the ridge once negotiating the way seems possible. The ridge seems even more intimidating than the gravel and sand below with its more substantial boulders and rocks on top, but you will be caught in a battle with the mountain side if you trek diagonally along the side too long. I got caught following another hiker along what we both perceived to be the path, and soon found myself slipping and struggling to regain footing on the side of the mountain. Several times I had to work hard to cling to boulders to keep myself from losing too much ground. I spent some time in conversation with another hiker who was maneuvering the ridge above, and he promised much easier passage if only I could get up quickly to the ridge.
 I got relatively tired and discouraged a few times while fighting with the mountainside and found myself repeating the mantra “be strong; live boldly” to keep myself motivated. I eventually scrambled my way up the ridge where I perched for a much needed breather and was awarded with a sight of the summit ahead. At the ridge, you will have achieved an altitude of 12,000 ft., and it is easy to feel hopeful with the peak in sight and only around 1,100 ft to go. Don’t underestimate the travel time, however. The rocky ridge can necessitate some interesting negotiation and surefooted-ness, which tired legs are not always conducive to. The altitude at this point admittedly got the best of me, and I was pausing to gulp air every few minutes or so, also conscious of my need to stay balanced and smart on the rocky terrain.

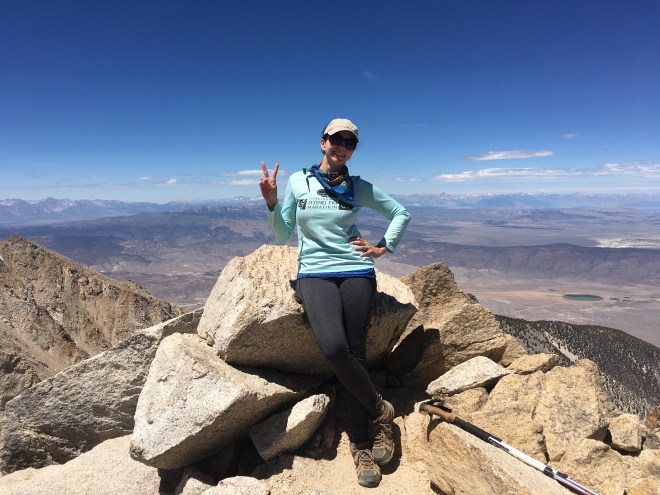
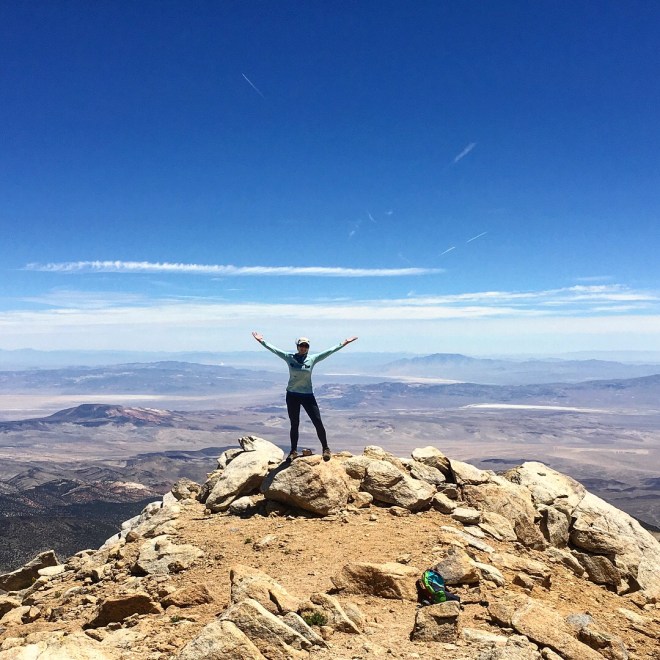
When I finally reached the summit, following the path along a bend and finally gaining sight of other hikers already atop, I was relieved and breathing hard. The views both of California and Nevada were stunning and the temperature and wind mild by mountain summit standards. There is a geological marker noting the point as well as a metal tackle box with summit book within. I stuck around the top long enough for a few photos and a snack before starting back down.

The way back is only relatively easier than the way up. Again, I’d like to emphasize this hike’s remoteness – the best way out of Boundary is on your own two feet so exercise caution at all times during your travel. Most hikers I saw that day at some point lost their footing and hit the trail, and there were several places where the best way down was on hands and bottom. A trekking pole was especially appreciated for the descent, and some hikers even adopted a sort of skiing/sliding hiking gait.
While maneuvering the mountainside, we could see Trail Canyon Saddle beckoning us below with its relaxation boulder and promise of flat trail beyond. Once reaching the Saddle, we took a short break to dump sand and pebbles from our boots before starting the last leg of the journey. You are still a few miles from the end of the trail at this point but the going is easy, and there was the opportunity to relax and enjoy the remainder of the hike.
I arrived finally back at my vehicle, sore, sunburned, and tired, but grateful for the opportunity to challenge myself and climb my fourth high point and highest point to date.
____________________________________________________________________________________________________
Quick Facts:
- Lodging
- Mammoth Lakes, CA – Several days before hike
- Benton Hot Springs Bed and Breakfast – Night before Hike
- Trail
- Boundary Peak via Queen Mine
__
Citations:
https://www.fs.usda.gov/recarea/inyo/recarea/?recid=21096

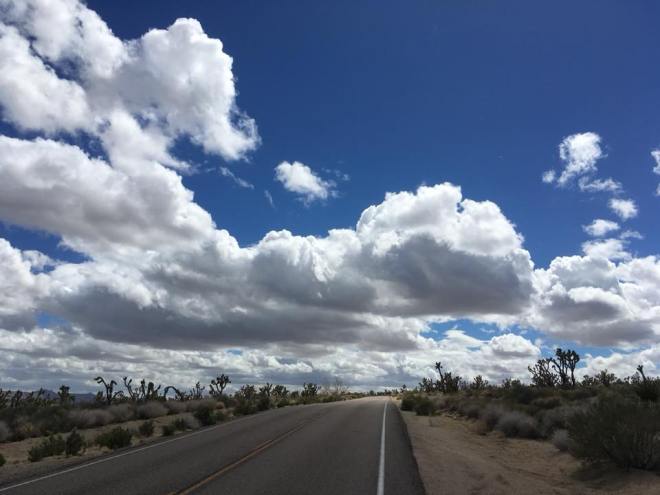

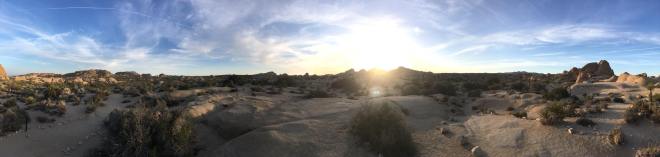
 Before arriving at Joshua Tree, you will come to the town of Twenty Nine Palms, California. Bringing along enough water is crucial when visiting Joshua Tree so take a moment to fill up bottles and camelbacks and buy any last-minute supplies. Remember that many campgrounds will not have water available, and you may want to sample the local tap before deciding to forego buying bottled water. Must-have camping supplies for the park include: sunscreen, firewood, snake bite kit, ace bandage for twisted ankles, Benadryl, and your NSAID of choice.
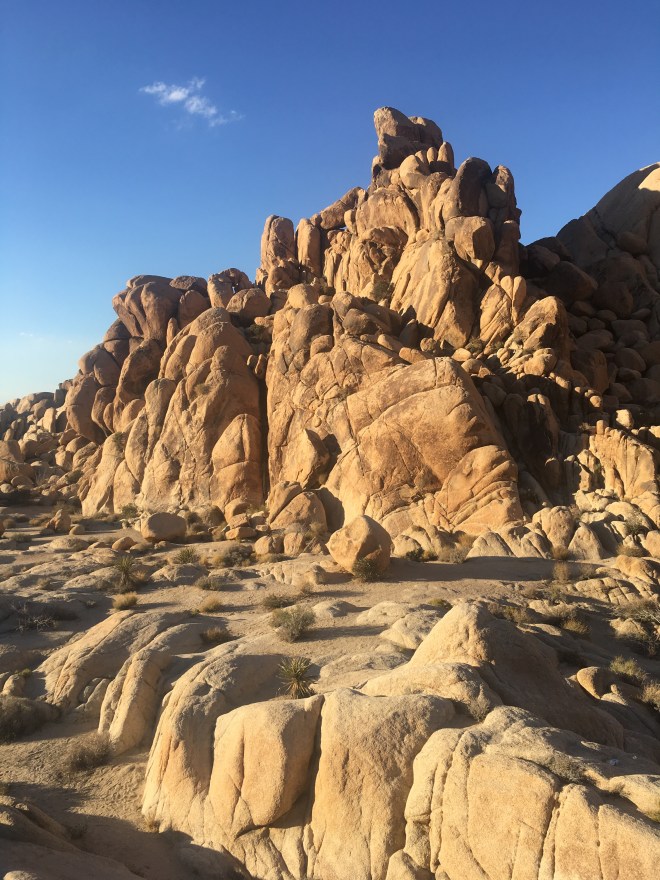 I had reserved a site at the Indian Cove Campground, located on the northern perimeter of the park and not requiring formal entrance to the park when checking in for the night. The camping fee was $20, and there is water available at the ranger station and well-maintained vault toilets scattered throughout the grounds.
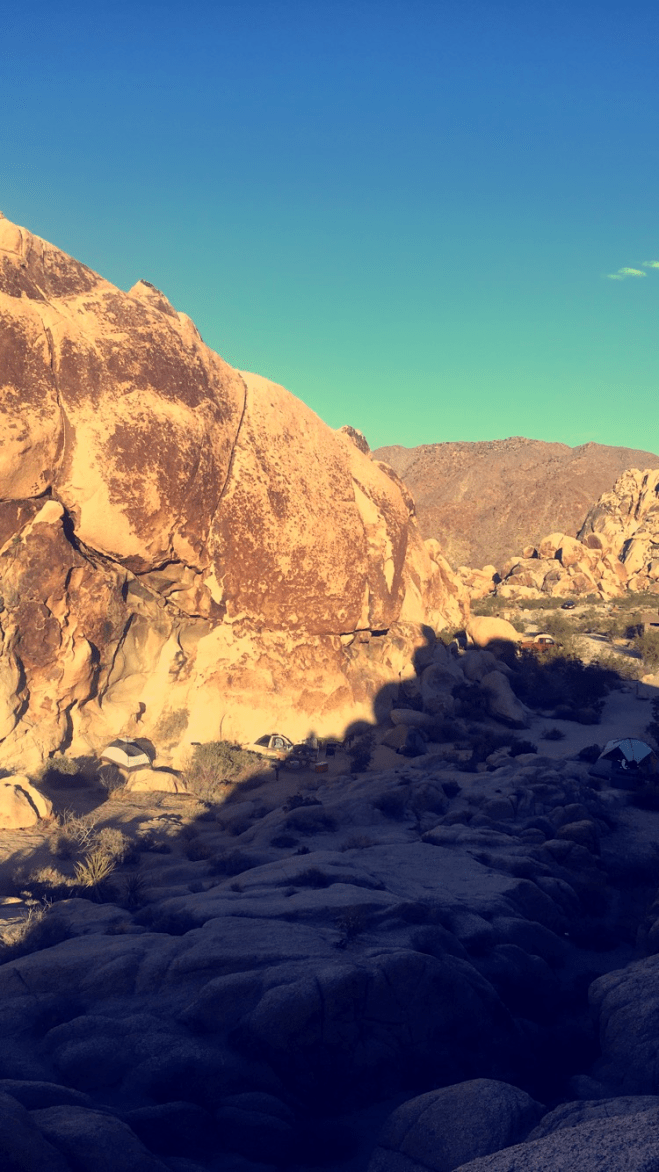
 Campsites were relatively close to each other, and we had some casual interaction with our neighbors as we ate dinner and sat around that evening’s campfire. Our site had a picnic table and fire pit, and we had plenty of space to set up our three small tents. Before darkness set in, we spent time scrambling on the rocks surrounding our campsite, keeping in mind the inevitable presence of rattle snakes and other desert dangers. As the sun began to set, my sister and I walked the Indian Cove Nature Trail, a short 0.6-mile stroll on the west side of the campground.
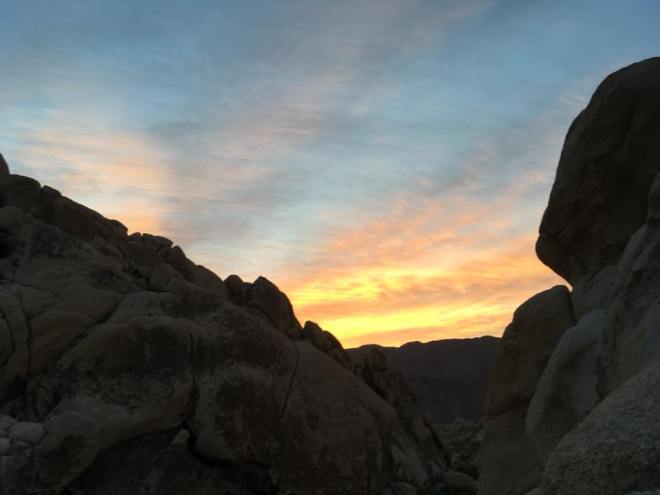
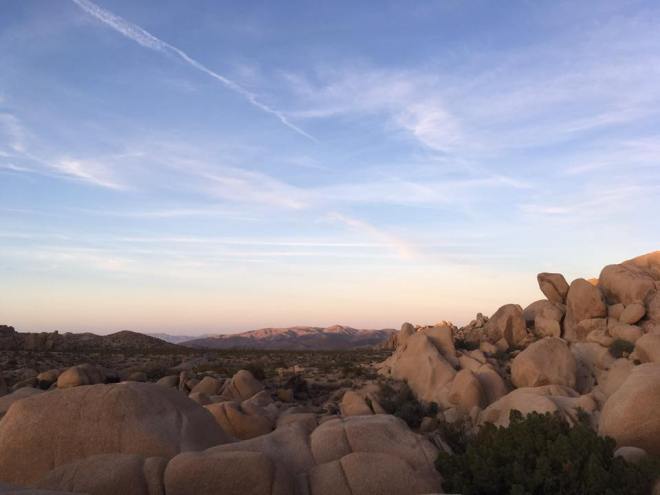
 After finishing the morning climb, we drove to Jumbo Rocks Campground to set up camp. This is an interior campground with sites reserved for $15 a night and without electricity or running water. While there are no large predators in JTNP, we were warned to put all food and toiletries in the car away from greedy rodents. Several squirrels and mice confronted us during the evening scouting for crumbs without inhibitions. Jumbo Rocks (as its name suggests) was also notable for its incredible rock formations, many named for the shapes and objects they resembled. Campsites were nestled among these rocks and several trails wound throughout leading to popular sites.
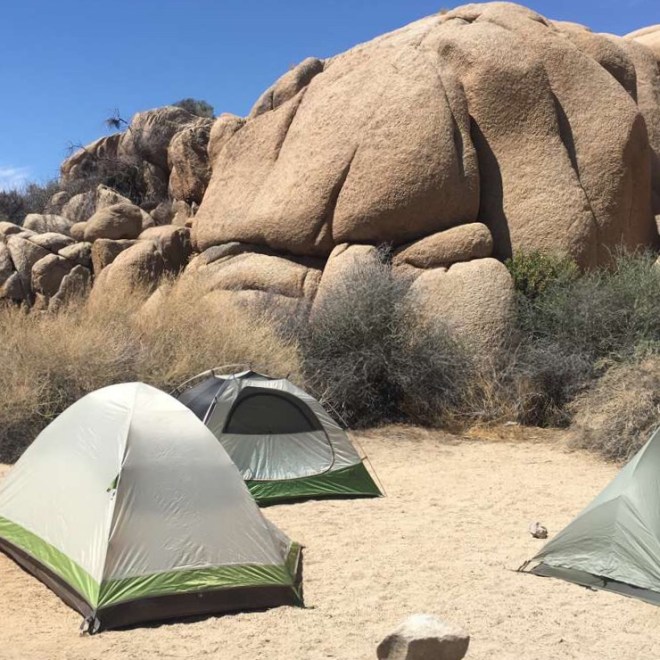
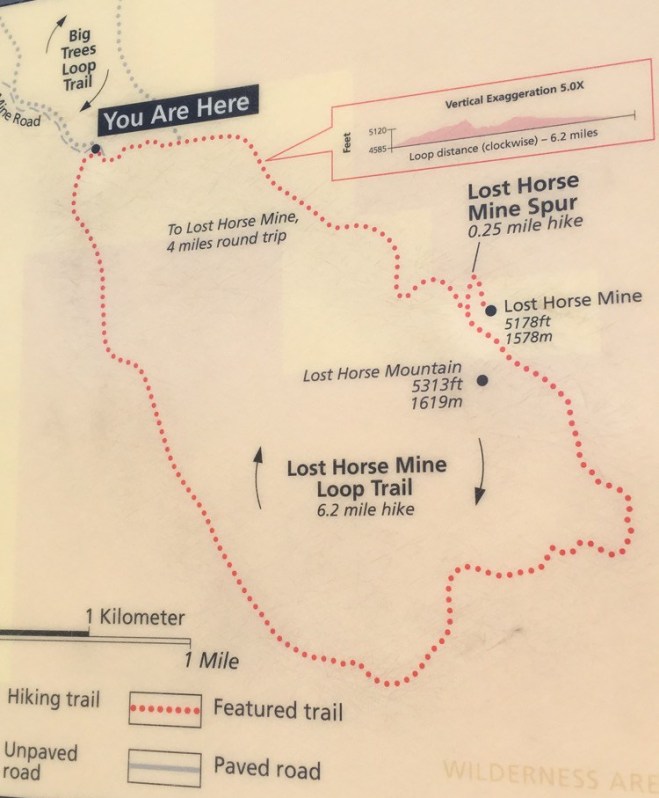
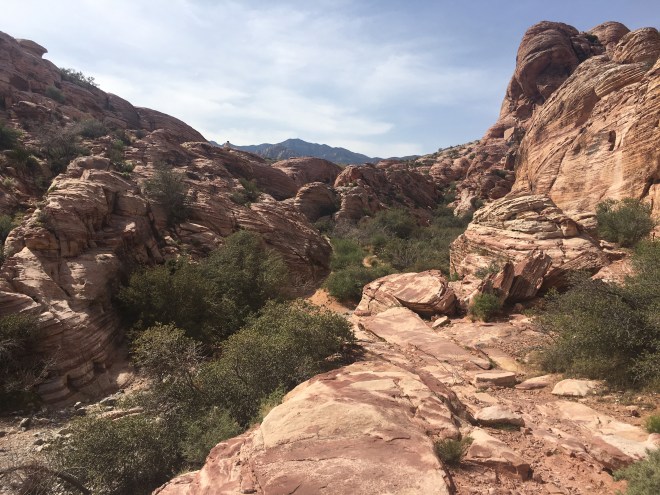
 After Keys View, we backtracked and found our way to Lost Horse Mine road, which provides a short driveway to the Lost Horse Mine trail head. This trail is popular because it travels past an old gold mining operation. The totality of the Lost Horse Loop Trail is 6.5 miles and took my sister and me about 2.5 hours to complete. There is a shorter, more popular out-and-back option that only takes you to and from the mine. I would recommend the loop option if time and stamina allows. While traveling the southern portion of the loop, you will hike through a dense Joshua Tree forest, and the light trail traffic makes for a serene and contemplative journey. The trail on the south side is mostly flat and sandy, and you do not begin gaining elevation until you round the bend and start heading back north and then west. About half way in you will begin seeing evidence of the past’s human presence – wire, fireplaces, and other metal remnants. As we headed north, the terrain changed, and we had several long, tough climbs – according to the park’s site, elevation changes over the course of the hike are approximately 550 ft. Around mile 4, we reached the famous Lost Horse mine, discovered in 1890 by rancher Johnny Lang while he searched for his lost horse. The dark, artificial structure stands out against the otherwise natural landscape braced above the trail on a hill and confined behind a chain link fence.
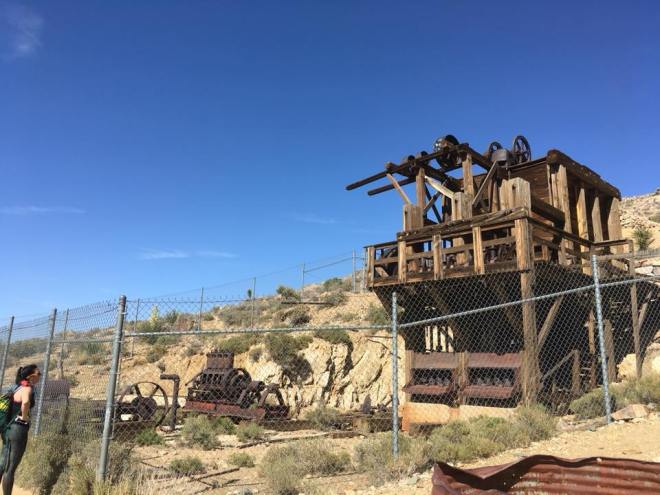

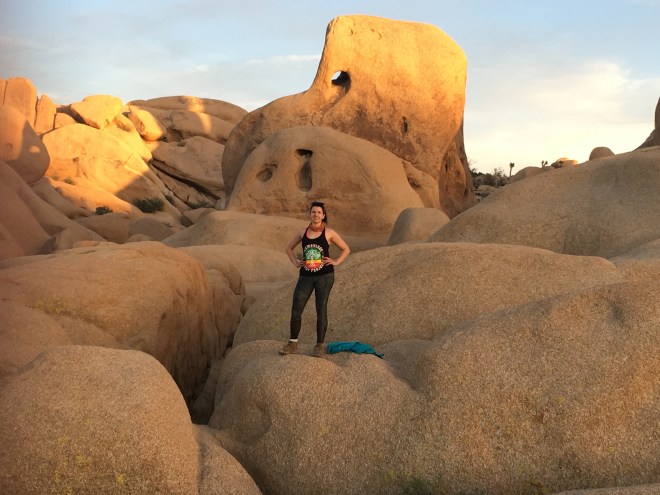
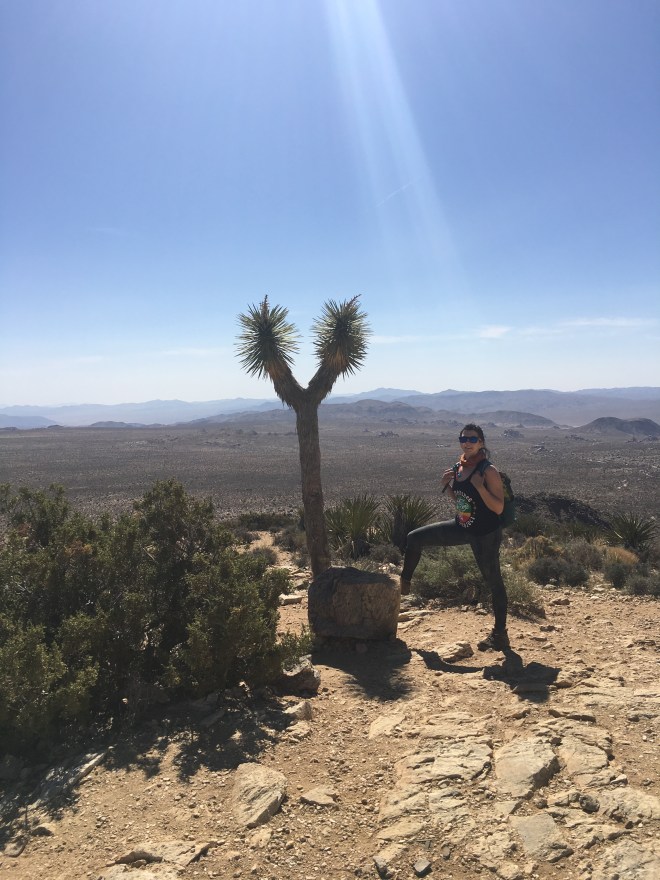
 I undoubtedly could have spent another day or two at Joshua Tree, and the park is now securely on my “Return-to” list (next time with plans of venturing to the more remote southern and eastern parts of the park). Monday morning we woke early and after tearing down camp, stopped at Skull Rock, which was free of tourists in the early morning hours. We also drove to the Split Rock Loop Trail and walked a large portion of that 2.5-mile trail, from which we could view the appropriately-named Face Rock. As the morning matured, it signaled that it was time to head back north, through the Truffula forested Mojave back to Vegas once again.